Deathly Hallows Sign
 |
| Changed the slot size to 3mm because the acrylic is thinner than the plywood. Made hole at bottom wider so the LED fits in it |
Pattern Designs:
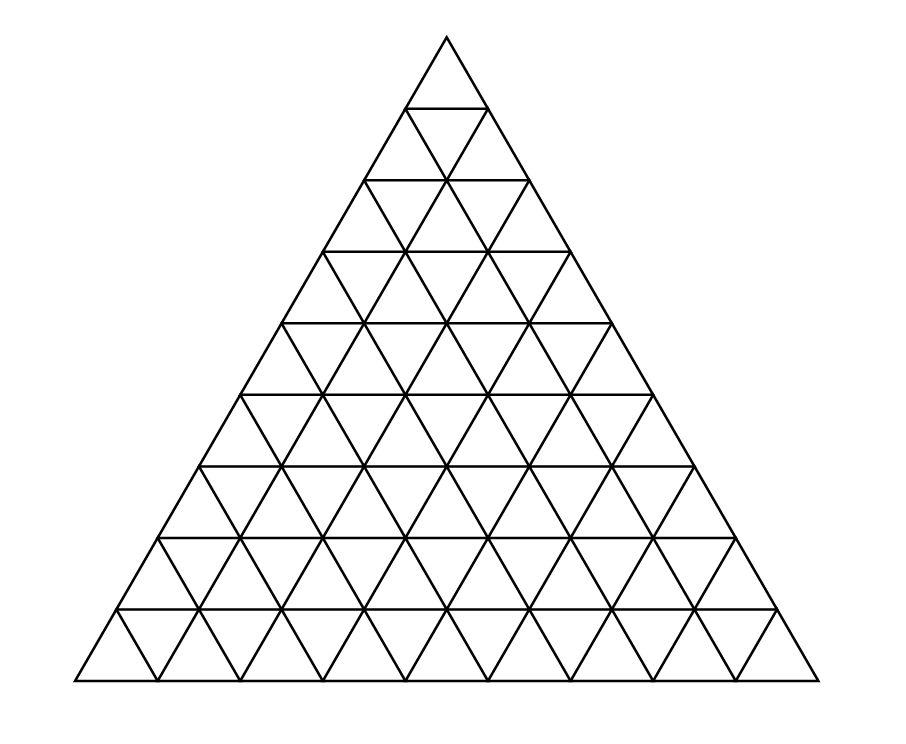
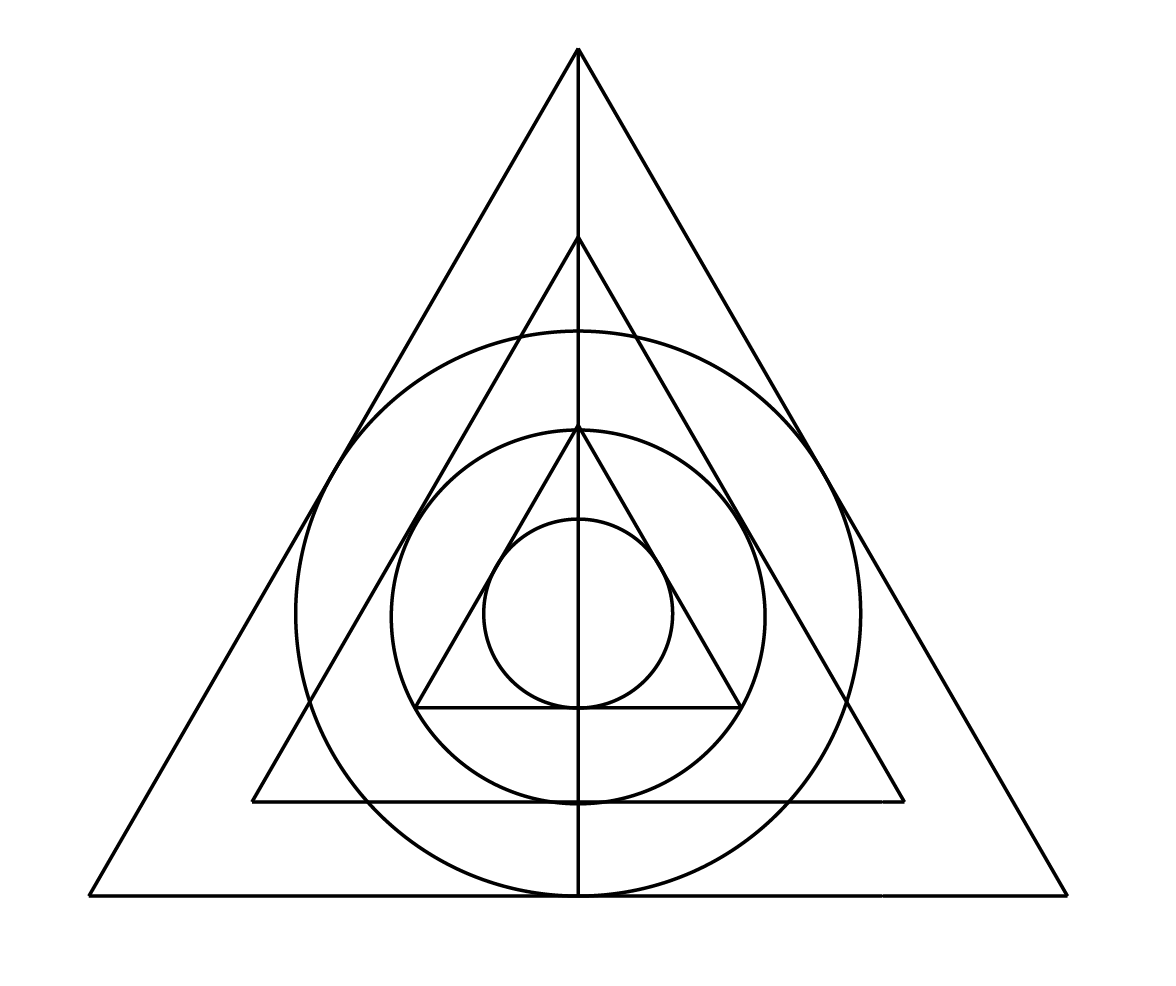
It was suggested that I could raster a pattern onto the surface of my deathly hallows pieces. I have played around with the simple geometrics of the shapes it consists of (triangles, circles and vertical lines) to see what can be found...
Criss-cross base design...
 |
| Negative extrusion through the centre to have the battery sit in |
 |
| flat bottom |
 |
| Cylinder, asymmetrically extruded because the centre of the plane is in the centre of the model. I wanted to have the battery sitting below the level that the Hallows sign would be sitting at otherwise it would get in the way |
Sphere base design...
 |
| Solid sphere minus the criss-cross to slot Hallow into. Chamfered in centre to allow space for the slotting to happen smoothly |
 |
| Slot for battery to sit in. |
 |
| Flat bottom for stability |


No comments:
Post a Comment